

The welcoming committee took care of every small detail
Last month I was invited to take part in a micro artist residency in Stanhope, a village not far from Durham, in the North of England.

Stanhope, the main square
I was invited by Highlights, a scheme that involves around 80 villages in rural areas across Cumbria and County Durham & Northumberland bringing National and International shows, concerts, craft and art exhibitions in the heart of local communities.

This is me, possessed, standing by two of my works at Stanhope Church Hall (courtesy of the Weardale Gazette)
Some of my pieces are now touring, together with the works of great paper artists, within the exhibition PaperScissorBook curated by Karen Babayan. While the show was displayed in Stanhope, my role during the week was to prepare the children and to share my skills through a two-day school workshop and a series of drop-in classes at the exhibition hall.
1) 10 hour workshop
Firstly, I was asked to lead a two-day workshop for a year 5-6 class (9 to 11 year olds) of 32 pupils, inspired by my work Vanity Fear, included in the touring exhibition.
Not knowing the pupils and the school environment, I decided to plan my time carefully, dividing it into small activities and exercises that would fit between the breaks and would adapt to the children’s level of attention.
Day 1
Icebreaking activity: Exquisite Corpses.
After a brief presentation of my works and of what paper art means to me, we played Consequences, or Exquisite Corpses: I asked the kids to think about the concept of beauty and ugliness and to draw a character on folded parts of an A3.
They all started with drawing a head, folded the paper down to hide their drawing, and then passed it on to the next person on their right. They then continued the exercise by drawing the body on the A3 received from their left, and repeated the same again with the legs.


When I asked them to unfold the page and see the full image, a powerful laughter could be heard in all the school! I really enjoyed their enthusiasm and this gave me the energy to move on to the next task (after a big cup of coffee).
Character making workshop part one: found elements
The second part of the morning was dedicated to gathering elements of what I called Beauty Monsters: I brought in magazines of all sorts (from Vogue, to tractor catalogues, to Top Gear) and asked the kids to cut out whatever they thought was fun or interesting towards the creation of a paper character.


Character making workshop part two: structure and assembly
After lunch, they then worked on backing the fragile glossy cut outs using the card and paper generously sponsored by Croppers.
The kind of paper they produce is very beautiful and I wanted the kids to concentrate on the texture and colour of the material they were to work with, so I presented the paper as if it was on a market stall, asking them to come in small groups and to choose carefully their favourites.

This quietness did not last long, but it was worth it!
The pieces were then assembled together, with glue, concertina folds or brass pins to keep some parts movable.


Character making workshop part three: background story and dramatized presentation
After the characters were made, the kids wrote down some details about them: their likes and dislikes, habits, favourite food, where they lived and any information they wanted to share with the others.
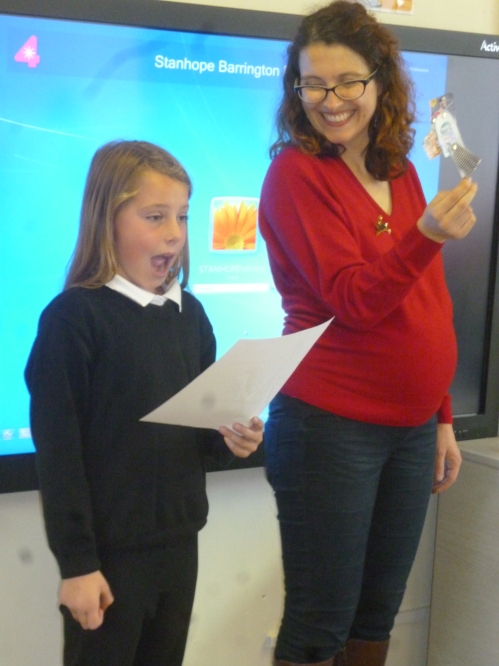
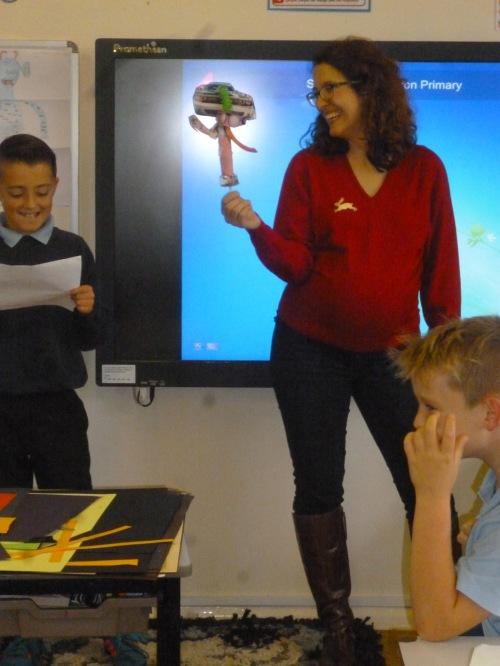
I then asked them to read their notes to the class, possibly using their characters’ voice: the outcomes where fresh, intelligent and highly entertaining. The best way to finish our first session and to prepare the basis for the following day.
Day 2
Tunnel books workshop
If the first day was mainly focused on individual work, the second day was dedicated to group discussion and collaboration. The desks were organized in clusters of four to encourage a shared creative experience.
I brought in some examples of tunnel books I have made in the past years to show and anticipate what they were going to learn during the day.


The kids were going to create a paper world for their characters: they were asked to choose three other paper creatures in the class to team up with, in order to create a common world that would suit the four characters’ tastes and style.
They all took the task very seriously and in 15 minutes they had a list of the elements they wanted to include in their books. They sounded much more professional and creative than any brainstorm session holders in some fancy advertising agency!
I demonstrated how to make a tunnel book using four sheets of square card and six pieces of paper concertinas. The rest of the day was dedicated to finding elements of their worlds in the magazines, and to create three-dimensional landscapes using cuts and holes. Each kid had one sheet of card to work on, and had to continuously compare their pieces with the other three, to make sure there was always a consistency in style and a good relation between the various elements.


Testing the perspective and depth

“It is a world made of sweets and cars” – what a dream!


A close-up of one of the books


Kids presenting their final work
The final outcomes were presented to the class together with their paper inhabitants and then assembled on panels to be exhibited in St Thomas Church Hall within the official paper craft exhibition.
2) 25 minutes workshop
The second part of my task in Stanhope was to lead a quick and simple creative activity of no more than 25 minutes for the school classes and all the visitors of the craft exhibition in the Church Hall.
I came up with an idea that can be easily applied to other contexts and themes.
I cut a simple silhouette of a face on one side of a folded cards, ready for the kids to use.
I then asked the participants to find interesting textures in the battered magazines – or better the pieces of magazines that had survived the school workshops.
They then were asked to glue their cuttings inside the card: the result of this exercise could be appreciated only after the card was closed again.
Observing the kids’ concentration, the variety and quality of the outcomes, and the thoughts behind every decision even in such a short time was extremely rewarding and heart-warming.

The piece I made as an example: 1) The silhouette is cut on the front of the card 2) a texture is glued inside the card 3) the texture becomes a neat image when the card is closed again

A workshop with a view

The proud creator of a silhouette portrait


Year 1 pupils, posing in front of their older colleagues’ works
